Sunday 15 November 2015

Decorated cupcakes

I went to the annual WI supper and dance last night and my contribution was to be 12 cup cakes. I learned how to do these when I attended a cake decorating course a few years ago. A very thoughtful present from one of my sons! They are very easy but look spectacular.

I made the cupcakes with a basic Victoria sponge recipie
8oz Self Raising flour
8oz Sugar
8oz Soft Margarine such as Stork
4 eggs.

You also need

Butter icing Make some butter icing by mixing 8oz icing sugar with 4oz margarine until combined.     (Using soft margarine gives a softer consistency which you need for these cakes.)
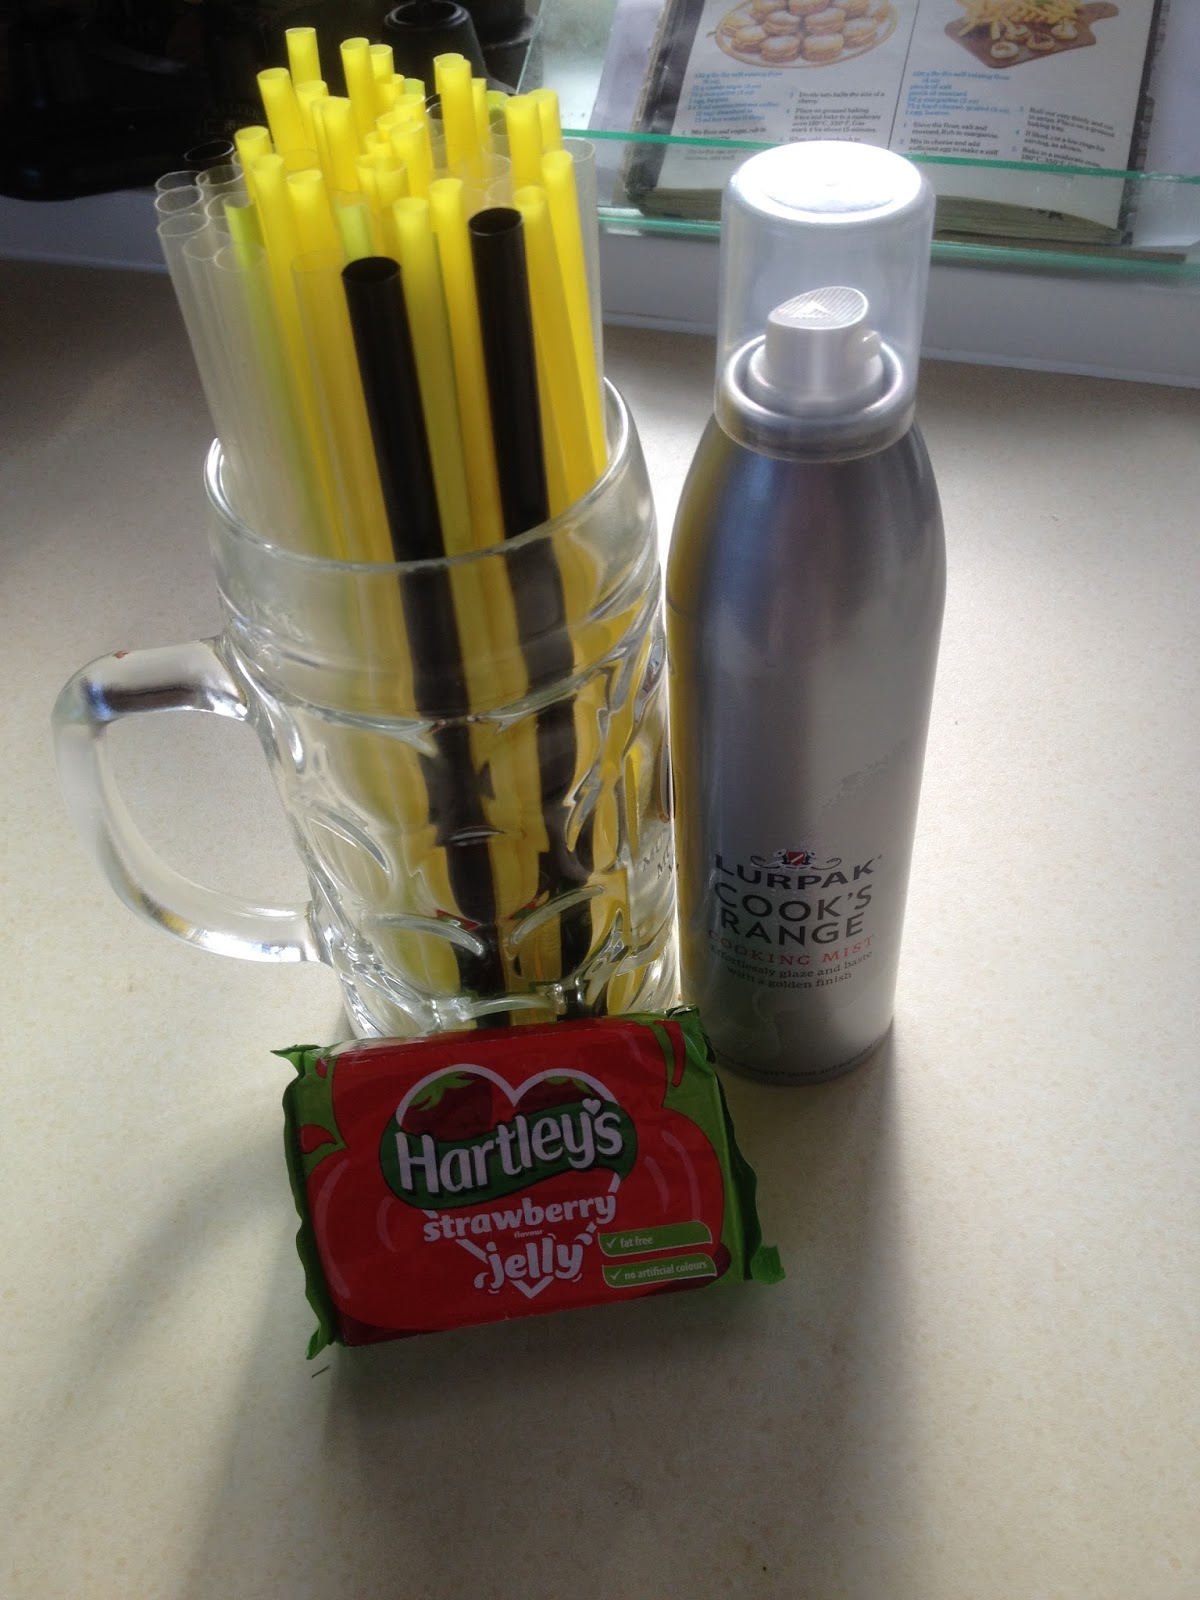
1 pack of mini marshmallows
Silver or coloured dragees, mine were pearl pink and white
Coloured sugar (Two teaspoons of sugar and 1 drop of food colouring, mix well and leave overnight. Just before using, break up the sugar crystals with the back of a teaspoon.)

Cream the margarine with the sugar until it is turns light in colour and is all mixed in. Add an egg with a little of the flour and mix in. Do the same with the other eggs and finally add the rest of the flour. I used large cupcake cases and this mix made 20 cupcakes. Fill each case about three quarters full as you need a level top on the cake. Bake for aprox. 20 minutes at gas mark 5
Place the cakes on a wire trivet to cool.
Using the mini marshmallows cut them diagonally across.
I did about 50 at a time. Holding each half marshmallow by the tip dip the cut side into your coloured sugar, if using. Starting at the top of the cake place the marshmallows in the 12, 3, 6, and 9 positions of the clock. This gives you a rough idea of symmetry. Add more marshmallows around the rim until it is full.
Do the second inner ring the same and then the third.

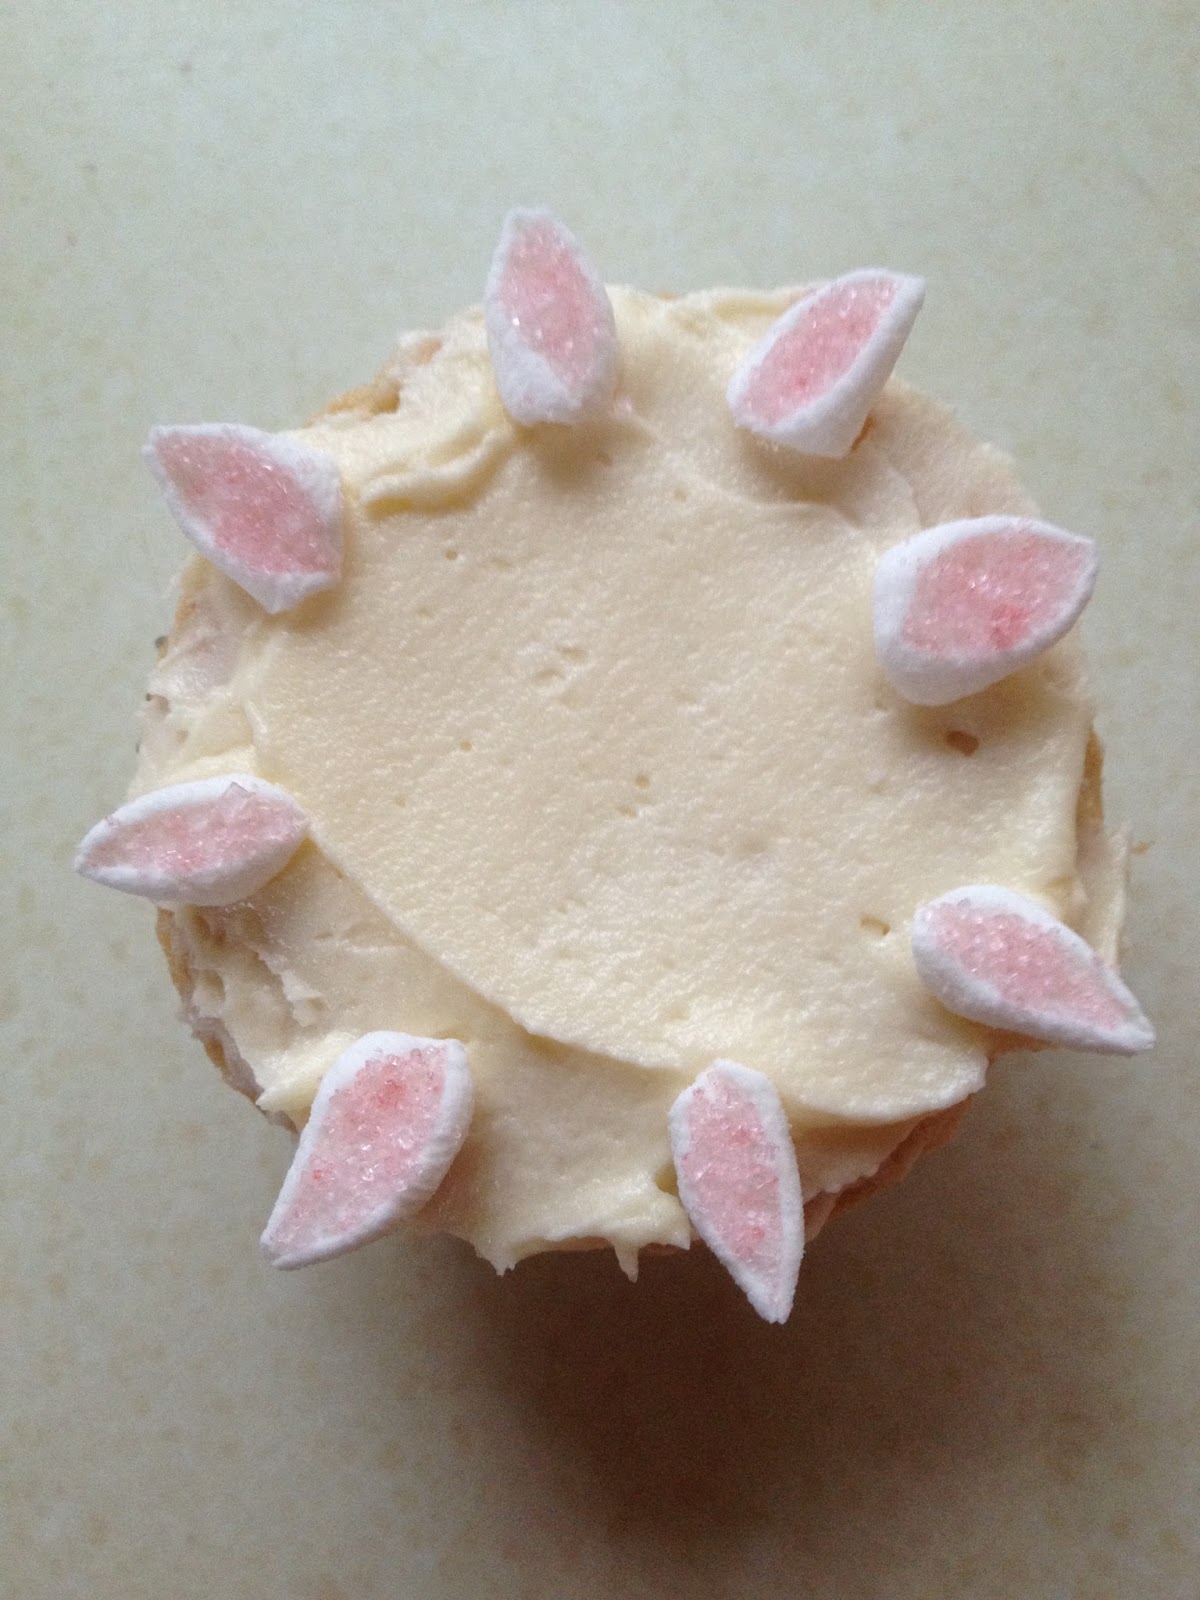
Finally add three dragees to the center.
All done!

As you can see you can vary the colours and use different coloured sugar as well. It is also possible to get a fuller look by doing four circles of marshmallows but I didn't have enough time for that!

Sunday 8 November 2015

Superb Snowflakes

Isn't nature wonderful? I found these amazing pictures that I just need to share. We all know that snowflakes are six sided and no two are the same but these pictures are exceptional with amazing detail.

 snowflake10snowflake3snowflake2snowflake1snowflake9snowflake8snowflake7snowflake5snowflake6

Thursday 22 October 2015

My first proper Book Fold

The first proper book fold I've done. I've just come back from Malta where I went for my friends daughters wedding. Before I went I thought I would take something to do if I had any spare time. I was thinking this because I get up early and I knew none of their family did and there is only so much breakfast you can eat! So I took the pattern, a paper ruler, bit of ribbon, pencil and rubber then " borrowed" a hardback book from the left-behind-bookshelf and did this sitting on my balcony the day before the wedding. I was really pleased with it as I was convinced I had done it upside down until I started folding the pages and the word appeared like magic!
Thanks to Jo Black at Allinthefolds  for the free pattern.

Sunday 11 October 2015

Amazing Rainbow

This was Norway last year,the most amazing sight I have ever seen. Apparently it is down to ice crystals in the air but I thought the town was going to catch fire!

Saturday 10 October 2015

My Daughters Birthday cake this year


A very easy cake. Chocolate cake base then butter cream mixed with Nutella spread all over. Push Cadbury's fingers or kit-kats into the sides. Then just place the buttons into the butter cream in the shape of the flowers in a random pattern.

Jelly Worms

 Ideal for Hallow'een.
You need;
A packet of jelly, the hard block type, seems to work better than the crystals. Kosher jelly comes in wonderful flavours and colours but turns back to water overnight.
Straws, thick ones work best, save McDonalds ones if you can't get any. If you use the ones with the concertina bendy bit pull them out to their full length as it gives the 'saddle' on the worm.
A tall glass such as a pint glass as your worms will be the length of your glass.
Cooking spray, Lurpack is a good one.


Make the jelly up to the packet instructions but just to three quarters of a pint or 425ml.
Holding the straws as a bunch in your hand spray the oil straight down the straws, turn them around and spray up the other end. Shake them a bit or tap them on the bench to get the oil distributed.
Pack the straws into your pint glass, the longer the glass, the longer the worm. Pour the jelly over the top down all the straws. Then leave it in the 'fridge to set.
The next bit is a bit messy as all the excess jelly is surrounding the straws and your hands get sticky and slippery. Just keep washing the jelly off your hands so you still have a good grip.
Pull one straw out of the glass and grip the top of the straw in your right hand (assuming you're right handed). Then grip the straw with your left finger and thumb and squeeze the straw while pushing down. The worm should come out easily.


And that's it, a plate full of jelly worms.

The 'saddle' on the worm from the bendy straw.


I'm going to start my blog up again, after an absence of two years or so. As usual, life gets in the way but I can but try. So for my first new post I've done a short tutorial for jelly worms. Something topical with Hallow'een coming up and I know a lot of people have come unstuck (literally!) with this one.

Saturday 26 September 2015

Three Cheese Italian Rigatoni Pie

Three Cheese Italian Rigatoni Pie

Ingredients
1 pound Rigatoni
1 jar of your favorite pasta sauce (approximately 2.5 cups, give or take. If it's slightly more or less, just use it all)
½ cup of water
2 Tablespoons olive oil, divided
1 pound ground beef or ground pork
1 cup Parmesan cheese
1 container cottage cheese (or ricotta cheese)
1 large egg
1-1/2 to 2 cups mozzarella cheese

Instructions
Cook the Rigatoni in a large pot of salted, boiling water. Make sure you use enough water because the rigatoni sucks up a lot. Cook it about 1 minute less than the package directions so it is still hard enough to stand up. Drain the pasta and rinse under cold water.

Toss pasta with 1 Tablespoon of oil to prevent it from sticking. Then add the Parmesan cheese and toss until the cheese is evenly distributed. Set aside.
In a large frying pan, brown the ground beef in 1 Tablespoon of oil. Drain away the fat once it's cooked.

Add the jar of pasta sauce and water and bring to a boil.
Reduce heat. Cover and simmer for at least 20 minutes. The longer you simmer the better. Just make sure you add more water if it all boils off.

Remove from heat and let it cool for 10 minutes.

Mix together the container of cottage cheese and the egg. Set aside.

Preheat the oven to 400 degrees Fahrenheit.
Grease a 9 inch spring form pan.
Take the cooked rigatoni and stand each piece up on its end in the pan. Continue until the whole pan is tightly packed.

Pour the cottage cheese mixture over the rigatoni and spread evenly over all the noodles.

Pour the meat mixture over top and spread evenly over the noodles. Use your finger to poke the meat and cheese mixture down into the noodles. The more patience you have with this step, the better it will be.

Bake for 15 minutes at 400F.

Remove from the oven and top with the mozzarella cheese.
Bake for another 15 minutes at 400F.

Let stand for 10 minutes then run a knife around the edge of the pan to help remove the spring form pan.